For the installation on Mac OS we recommend to use the free application PlayOnMac. PlayOnMac is a Wine-based software for easy installation of Windows applications on Mac OS.
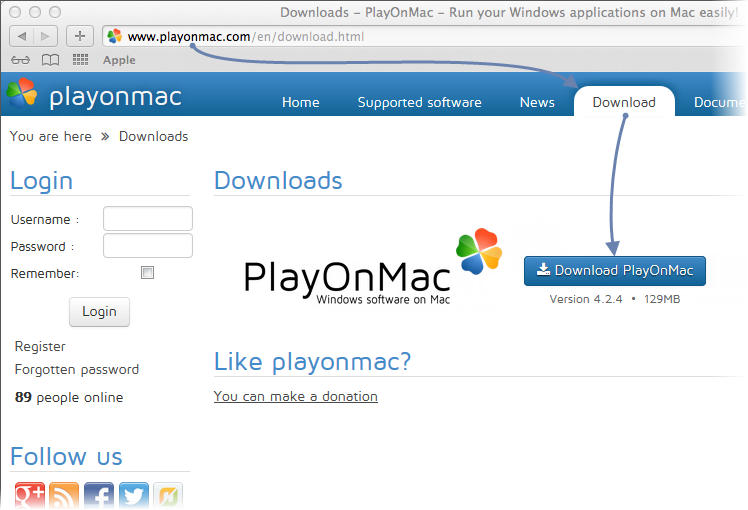
To install PlayOnMac, open the product's official web site, move to Downloads section and click the link for downloading the latest version.

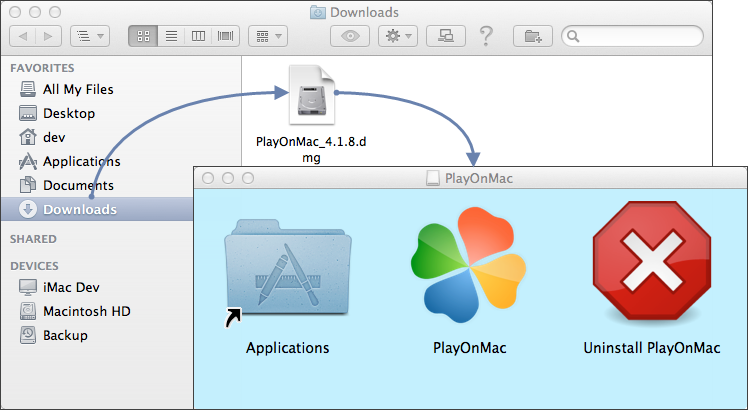
After downloading the DMG package, launch it from Downloads section of your system:
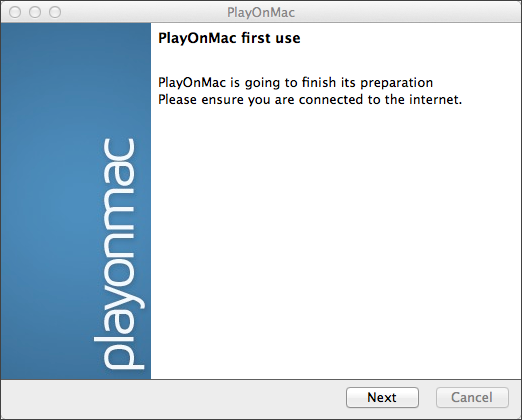
PlayOnMac first launch window will appear. After clicking "Next", the installer will start checking and installing the various components necessary for work.
The first necessary component is XQuartz.
This is a software for using X Window System on Mac OS. X Window System provides standard tools and protocols for building the graphical user interface in Unix-like OS.
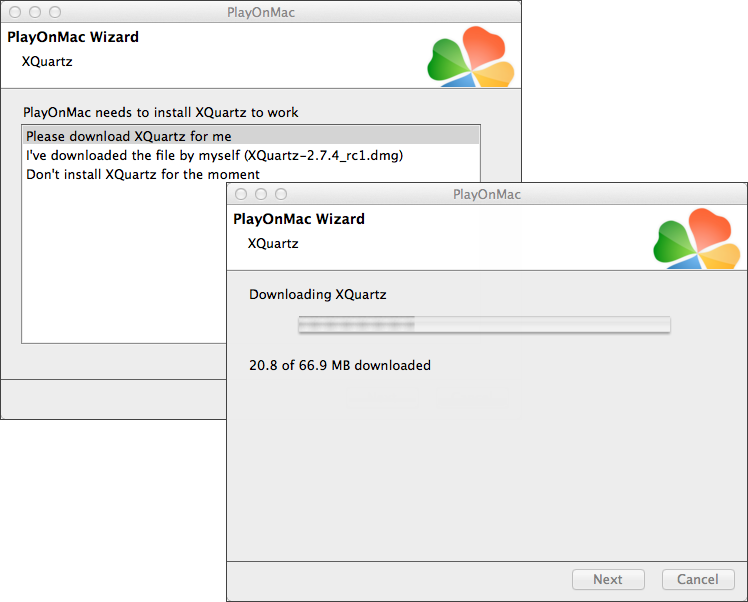
If you have already installed XQuartz or want to install it later, select "Don't install XQuartz for the moment" or "I've downloaded file by myself", respectively.
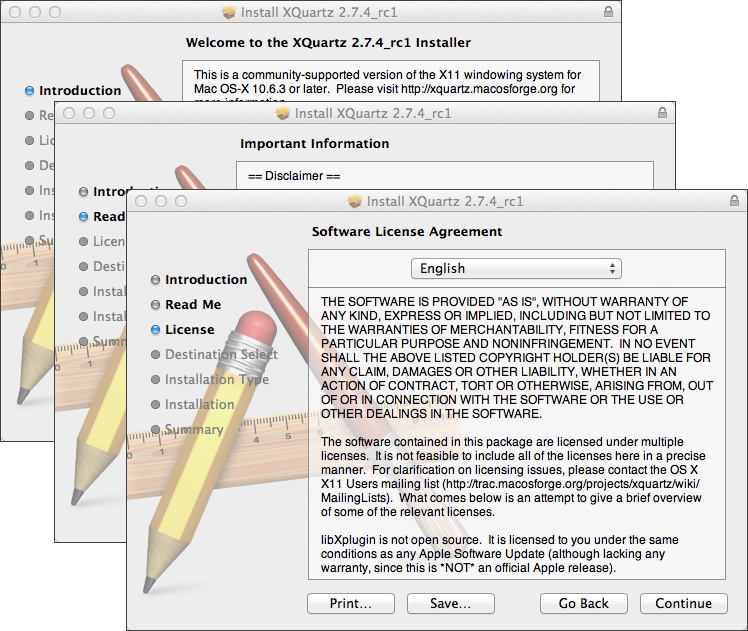
XQuartz installation is performed in several stages. First of all, you should read the important information (Read Me) and accept the license conditions.
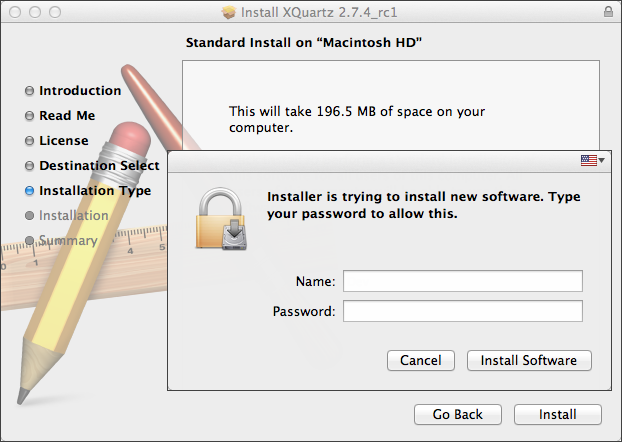
Before the installation, Mac OS security system will ask you to enter your account's password:
Wait for the installation to complete. For changes to take effect, you should restart your PC.
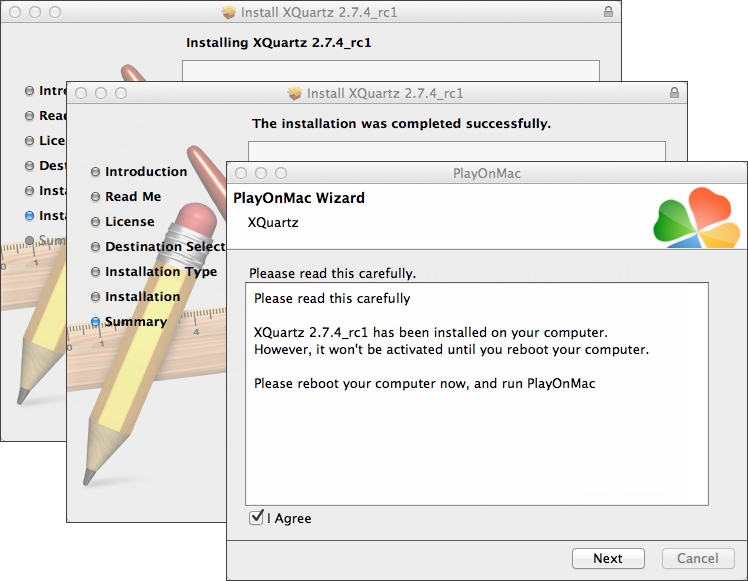
After restarting the system, launch PlayOnMac again from the setup file in Downloads folder. The first launch window will appear again.
This time, the installer will offer to install MS Windows fonts necessary for correct operation.
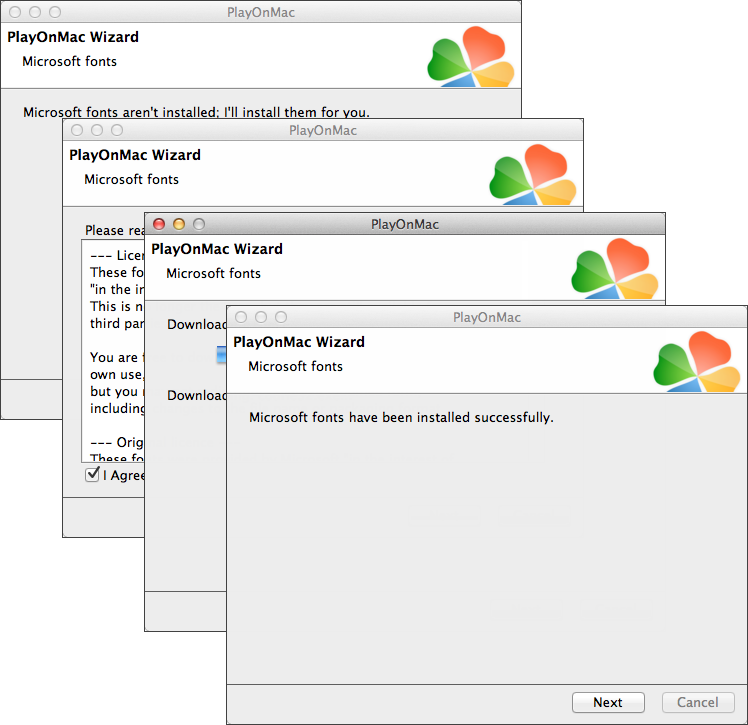
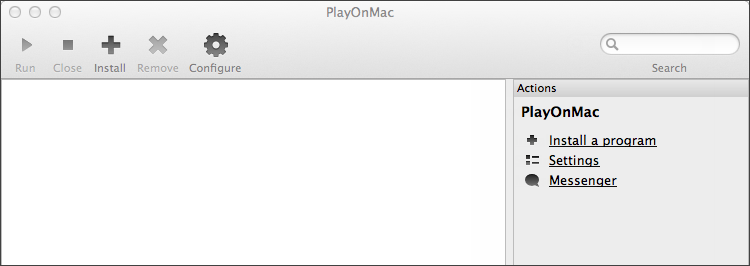
Accept the license agreement conditions and wait till the installation is complete. After that, PlayOnMac is ready for use. Its main window will appear:
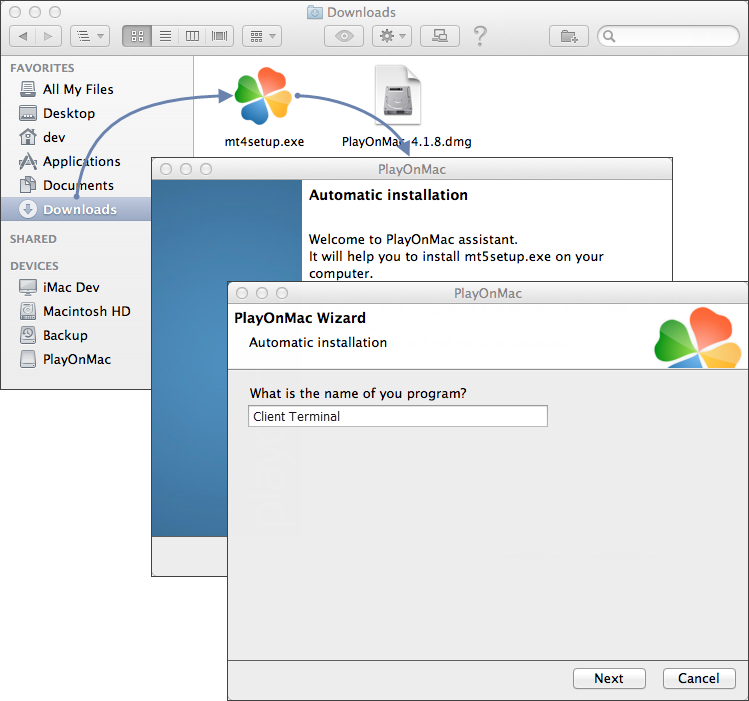
To install the terminal, download the MT4 installer from here. After the download is complete, launch the setup file. PlayOnMac will be used automatically to open it.
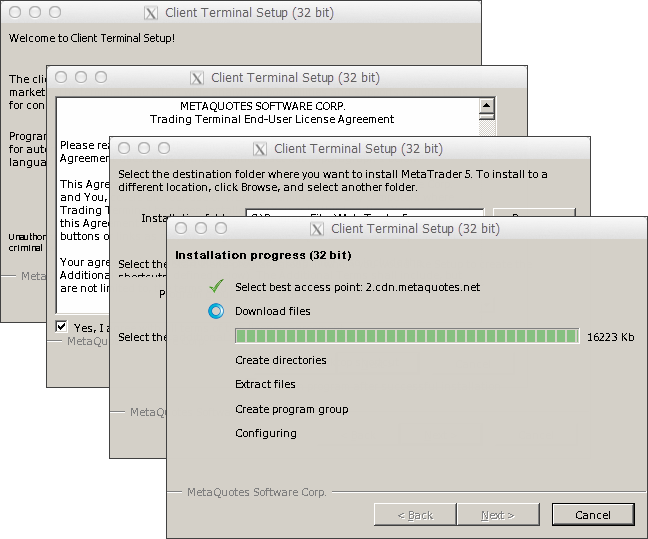
The standard terminal installation process with all its stages will start:
When the installation is complete, PlayOnMac will offer you to create the shortcuts for the terminal components - the client terminal itself and MetaEditor:
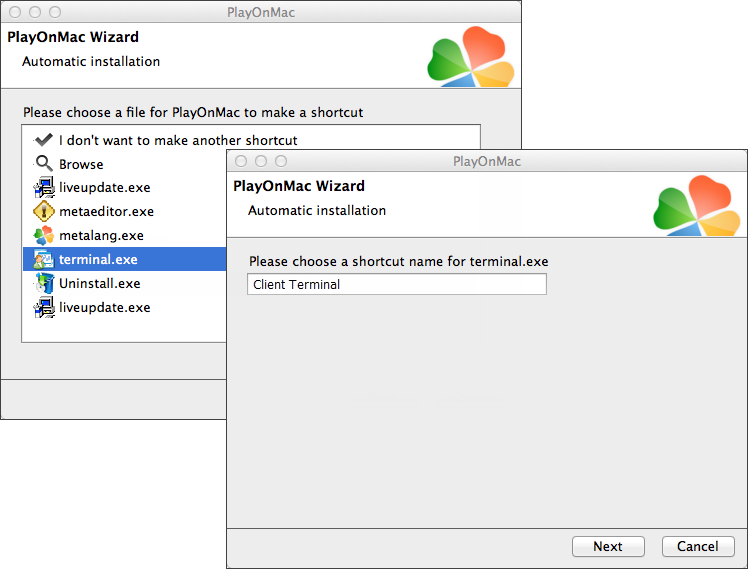
After creating the necessary shortcuts, you can start using the client terminal. Double click on it in PlayOnMac window to launch the terminal.

PlayOnMac creates a separate virtual logical drive with necessary environment for each installed program. The default path of the installed terminal's data folder is as follows:
Library\PlayOnMac\WinePrefix\Client_Terminal_\Drive C\Program Files\Client Terminal |